Digital audio recording is a process that transforms sound waves into a digital format, allowing for manipulation, storage, and playback on various devices. At its core, this process involves capturing audio signals through microphones, converting them into electrical signals, and then digitizing those signals using an analog-to-digital converter (ADC). The resulting digital audio files can be edited, mixed, and produced using software known as Digital Audio Workstations (DAWs).
This technology has revolutionized the music industry, enabling artists and producers to create high-quality recordings from virtually anywhere. The fundamental principle behind digital audio recording is sampling. This involves taking snapshots of the audio signal at regular intervals, known as the sample rate.
Common sample rates include 44.1 kHz, which is standard for CDs, and 48 kHz, often used in video production. The bit depth, another crucial aspect, determines the dynamic range of the recording. A higher bit depth allows for more detailed sound capture, with 16-bit being standard for CDs and 24-bit preferred in professional settings.
Understanding these basics is essential for anyone looking to delve into digital audio recording, as they form the foundation upon which all subsequent techniques and practices are built.
Key Takeaways
- Digital audio recording involves capturing sound in a digital format using a microphone and converting it into a digital file.
- When choosing equipment for digital audio recording, consider the quality of the microphone, audio interface, and headphones or monitors.
- Setting up a home recording studio requires selecting a quiet and well-insulated space, investing in acoustic treatment, and arranging the equipment for optimal sound capture.
- Mastering mic techniques for recording vocals and instruments involves understanding microphone placement, polar patterns, and proper gain staging.
- Room acoustics play a crucial role in digital audio recording, affecting the sound quality and overall performance of the recording space.
Choosing the Right Equipment for Digital Audio Recording
Selecting the appropriate equipment for digital audio recording is a critical step that can significantly impact the quality of your recordings. The first piece of equipment to consider is the microphone. There are various types of microphones, including dynamic, condenser, and ribbon mics, each suited for different applications.
Dynamic microphones are robust and ideal for live performances or loud sound sources, while condenser microphones are more sensitive and better suited for capturing vocals and acoustic instruments in a controlled environment. Ribbon microphones offer a warm sound but require careful handling due to their fragility. In addition to microphones, an audio interface is essential for connecting your mics to your computer.
This device converts analog signals into digital data that your DAW can process. When choosing an audio interface, consider factors such as the number of inputs and outputs you need, the quality of the preamps, and compatibility with your computer system. Furthermore, headphones and studio monitors play a vital role in monitoring your recordings accurately.
Closed-back headphones are ideal for tracking as they prevent sound leakage, while studio monitors provide a flat frequency response for mixing and mastering.
Setting Up a Home Recording Studio
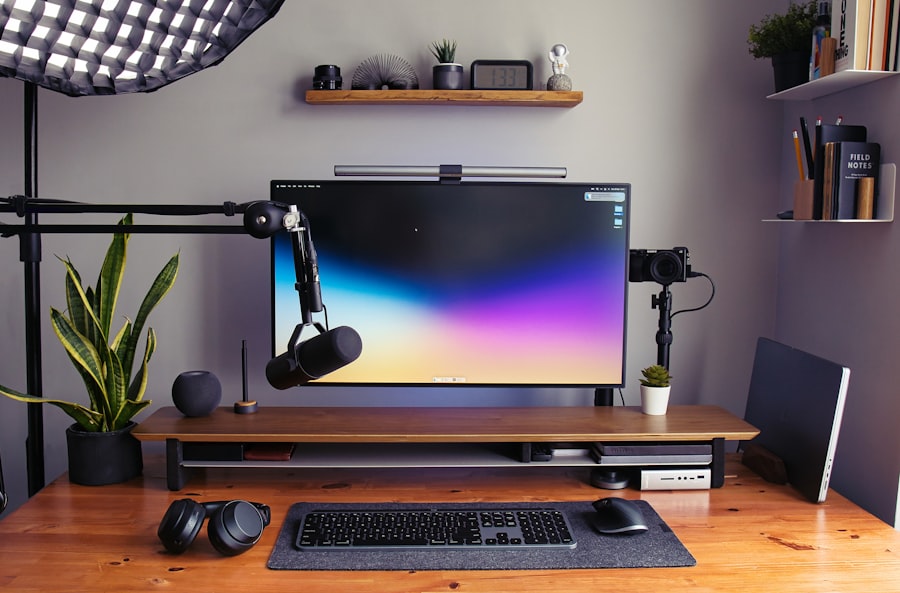
Creating a home recording studio can be an exciting yet daunting task. The first step is to choose an appropriate space that minimizes external noise and provides enough room for your equipment. Ideally, this space should be dedicated solely to recording to avoid distractions.
Once you have selected a location, it’s essential to treat the room acoustically. This can involve adding sound-absorbing materials such as foam panels or carpets to reduce reflections and echoes that can muddy your recordings. After addressing acoustics, it’s time to arrange your equipment efficiently.
Your microphone should be placed on a sturdy stand at an appropriate distance from the sound source to capture the best quality audio. Additionally, consider cable management to keep your workspace organized and free from clutter.
A well-organized studio not only enhances workflow but also contributes to a more professional recording environment.
Mastering Mic Techniques for Recording Vocals and Instruments
| Technique | Description |
|---|---|
| Close miking | Placing the microphone close to the sound source to capture a more direct and intimate sound. |
| Room miking | Placing the microphone further away from the sound source to capture more of the room’s natural ambience. |
| Polar patterns | Understanding the different polar patterns (e.g. cardioid, omni, figure-8) and how they affect microphone pickup. |
| Proximity effect | Learning how the bass response of a microphone increases when placed close to the sound source. |
| Instrument miking | Techniques for miking specific instruments such as guitars, drums, and pianos to capture their unique sound characteristics. |
Mastering microphone techniques is crucial for achieving high-quality recordings of both vocals and instruments. For vocal recordings, proper mic placement is key. A common technique is to position the microphone about six to twelve inches away from the vocalist’s mouth at a slight angle to reduce plosive sounds caused by hard consonants like “p” and “b.” Using a pop filter can further mitigate these issues by diffusing air blasts before they hit the microphone.
When recording instruments, different techniques apply depending on the type of instrument being recorded. For instance, when capturing acoustic guitars, placing a condenser microphone about twelve inches from the sound hole can yield a rich tone. For drums, multiple microphones are often used: one for the kick drum, overheads for cymbals, and individual mics for each tom.
Understanding how to position microphones effectively can dramatically enhance the clarity and depth of your recordings.
Understanding the Importance of Room Acoustics in Digital Audio Recording
Room acoustics play a pivotal role in digital audio recording, influencing how sound waves interact within a space. A room with poor acoustics can lead to unwanted reflections and resonances that color the sound of recordings negatively. To achieve optimal sound quality, it’s essential to analyze the room’s characteristics before setting up your studio.
This can involve measuring the room’s dimensions and identifying areas where sound waves may bounce off walls or ceilings. To improve room acoustics, various treatments can be applied. Bass traps can be installed in corners to absorb low frequencies that tend to build up in those areas, while diffusers can help scatter sound waves evenly throughout the room.
Additionally, using absorptive materials like curtains or carpets can reduce echo and create a more controlled environment for recording. By investing time in understanding and improving room acoustics, you can significantly enhance the overall quality of your digital audio recordings.
Utilizing Digital Audio Workstations for Editing and Mixing
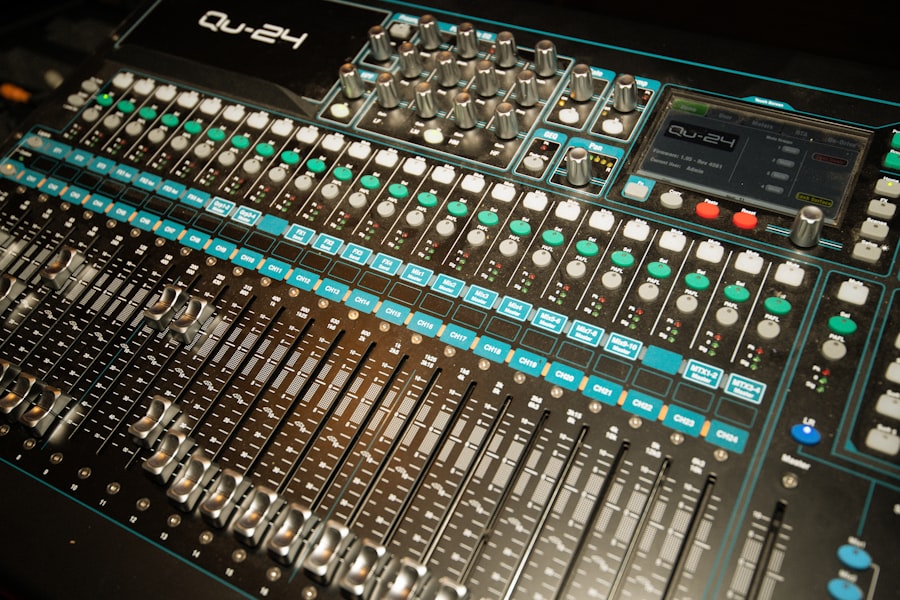
Digital Audio Workstations (DAWs) are powerful tools that allow users to edit, mix, and produce audio recordings with precision and creativity. Popular DAWs such as Pro Tools, Ableton Live, Logic Pro X, and FL Studio offer a wide range of features tailored to different aspects of music production. These platforms enable users to arrange tracks visually on a timeline, apply effects, automate parameters, and manipulate audio clips seamlessly.
Editing in a DAW involves various techniques such as cutting, copying, pasting, and time-stretching audio clips to achieve the desired arrangement. Additionally, mixing is where the magic happens; it involves balancing levels between different tracks, applying equalization (EQ) to enhance or reduce specific frequencies, and adding effects like reverb or compression to create depth and cohesion in the mix. Mastering tools within DAWs allow for final adjustments before exporting the project as a polished audio file ready for distribution.
Tips for Achieving Professional Quality in Digital Audio Recording
Achieving professional-quality recordings requires attention to detail at every stage of the process.
This includes checking microphone placements, ensuring cables are securely connected, and verifying that levels are set appropriately on your audio interface to avoid clipping or distortion.
Another critical aspect is maintaining good performance during recording sessions. Encourage artists or musicians to warm up before recording to ensure they deliver their best performance. Additionally, consider using multiple takes when recording vocals or instruments; this provides options during editing and allows you to select the best parts from each take for a more polished final product.
Finally, don’t underestimate the power of mixing; spending time fine-tuning levels and effects can elevate your recordings from amateur to professional quality.
Troubleshooting Common Issues in Digital Audio Recording
Even with careful planning and execution, issues can arise during digital audio recording that may hinder progress or affect sound quality. One common problem is latency—an audible delay between inputting sound and hearing it through monitors or headphones. This can often be resolved by adjusting buffer settings in your DAW or using direct monitoring features available on many audio interfaces.
Another frequent issue is background noise or unwanted sounds being captured during recording sessions. To mitigate this problem, ensure that all unnecessary electronic devices are turned off or moved away from the recording area. Additionally, using directional microphones can help isolate sound sources while rejecting ambient noise from other directions.
If problems persist despite these measures, consider revisiting room acoustics or investing in better-quality equipment tailored to your specific recording needs. By understanding these fundamental aspects of digital audio recording—from equipment selection to troubleshooting common issues—individuals can enhance their skills and produce high-quality recordings that stand out in an increasingly competitive landscape.
If you are interested in learning more about digital audio recording techniques, you may want to check out the article “Hello World” on the Sersea Media blog. This article may provide valuable insights and tips on how to improve your recording skills. To read more, visit here.
FAQs
What is digital audio recording?
Digital audio recording is the process of capturing and storing sound in a digital format, typically using a computer or digital recording device. This allows for high-quality, lossless recording and editing of audio.
What are some common digital audio recording techniques?
Some common digital audio recording techniques include multi-track recording, direct input recording, microphone placement techniques, and using digital audio workstations (DAWs) for editing and mixing.
What equipment is needed for digital audio recording?
To record digital audio, you will need a computer or digital recording device, a microphone or direct input source, audio interface, and digital audio recording software (DAW). Additional equipment such as headphones, monitors, and preamps may also be used.
What are the advantages of digital audio recording?
Digital audio recording offers advantages such as high-quality sound, ease of editing and manipulation, the ability to store and transfer audio files easily, and the use of digital effects and processing.
What are some best practices for digital audio recording?
Some best practices for digital audio recording include using high-quality microphones and preamps, paying attention to room acoustics, setting proper recording levels, and organizing and labeling audio files for easy access and editing.