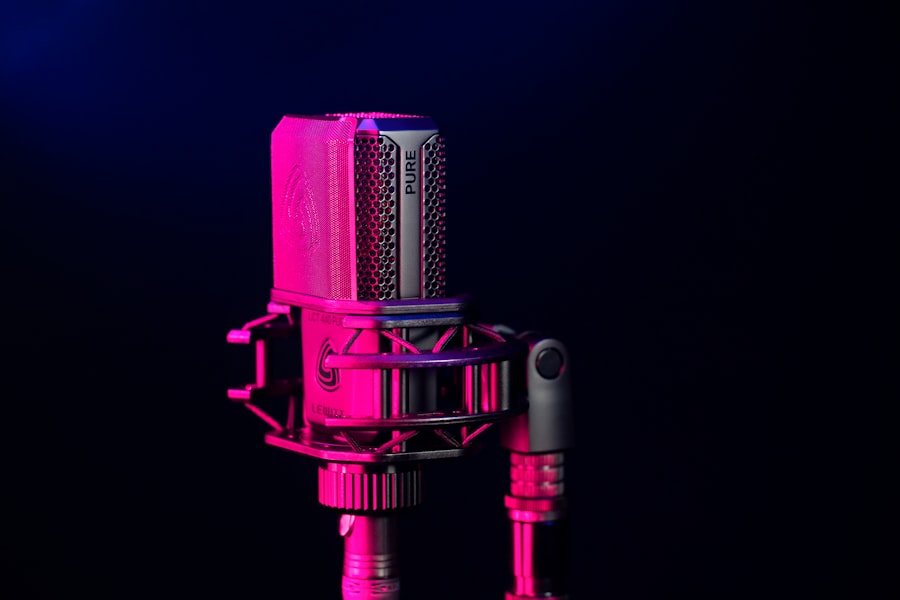
One of the most common pitfalls in audio recording is the failure to thoroughly check equipment before a session begins. This oversight can lead to a myriad of issues, ranging from minor inconveniences to major setbacks that can derail an entire project. For instance, imagine arriving at a studio only to discover that the microphone you planned to use is malfunctioning or that the audio interface is not properly connected.
Such scenarios can waste precious time and resources, not to mention the frustration that comes with scrambling to find a solution at the last minute. Moreover, neglecting to check equipment can result in subpar audio quality. A simple oversight, like forgetting to replace a worn-out cable or failing to ensure that batteries in wireless microphones are charged, can lead to unwanted noise or dropouts during recording.
It is essential to conduct a comprehensive equipment check, which includes testing microphones, cables, interfaces, and any other gear that will be used in the session. This proactive approach not only saves time but also ensures that the recording process runs smoothly, allowing for a more focused and productive creative environment.
Key Takeaways
- Always check your equipment before recording to avoid technical issues
- Pay attention to room acoustics to ensure high-quality sound in your recordings
- Properly set levels and gain staging to avoid distortion and noise in your recordings
- Invest in high-quality cables to maintain the integrity of your audio signal
- Regularly monitor and test your recordings to catch any issues early on
Ignoring Room Acoustics
Room acoustics play a crucial role in the quality of any recording. Many novice engineers and musicians underestimate the impact that the physical space has on sound. A room with poor acoustics can introduce unwanted reflections, echoes, and resonances that color the audio in undesirable ways.
For example, recording in a small, untreated room may result in a muddy sound due to excessive bass buildup, while a large, empty space might create an overly reverberant environment that obscures clarity. To achieve optimal sound quality, it is vital to assess and treat the recording space appropriately. This may involve using acoustic panels, bass traps, and diffusers to manage reflections and control the overall sound.
Additionally, understanding the placement of instruments and microphones within the room can significantly affect the final recording. For instance, positioning a microphone too close to a wall can lead to phase issues and unwanted coloration. By taking room acoustics into account and making necessary adjustments, one can create a more controlled environment that enhances the overall quality of the recordings.
Overlooking Levels and Gain Staging
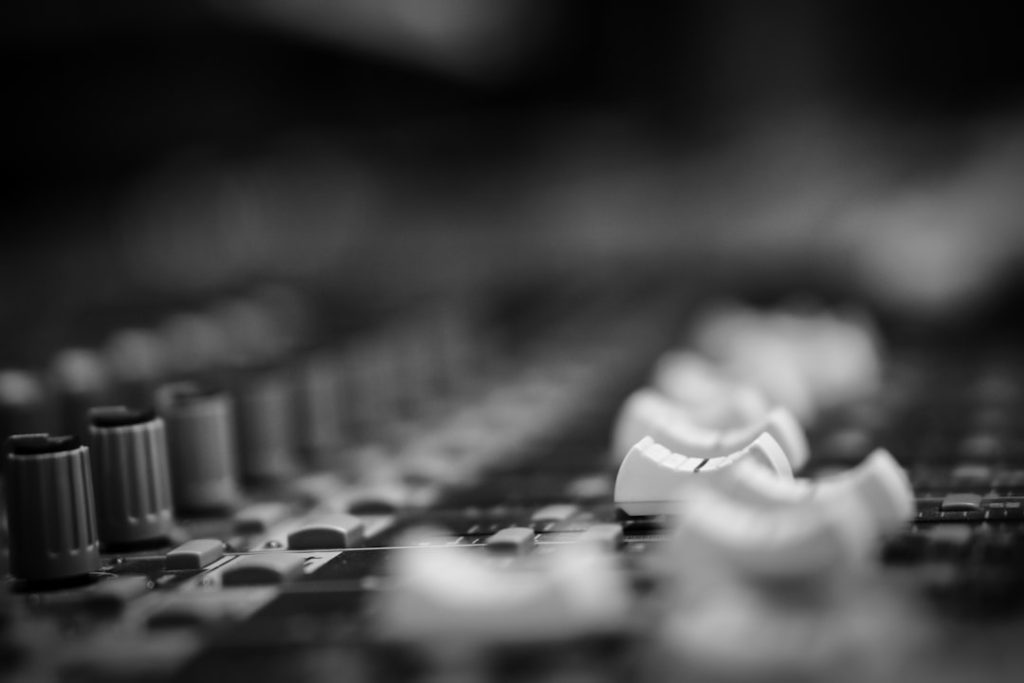
Proper gain staging is fundamental to achieving high-quality recordings. Many individuals overlook this critical aspect, leading to recordings that are either too quiet or distorted due to clipping. Gain staging involves setting appropriate levels at each stage of the signal chain—from the microphone preamp to the digital audio workstation (DAW).
If levels are set too high, it can result in distortion and loss of dynamic range; conversely, levels that are too low may introduce noise when amplified during mixing. To ensure optimal gain staging, it is essential to monitor levels throughout the recording process. This includes checking input levels on the audio interface and ensuring that they remain within an acceptable range—typically peaking around -6 dBFS to -3 dBFS for digital recordings.
By paying close attention to gain staging, one can capture clean recordings that retain their dynamic integrity and provide a solid foundation for mixing.
Using Low-Quality Cables
| Issue | Impact | Solution |
|---|---|---|
| Signal Interference | Poor audio/video quality | Use high-quality shielded cables |
| Short Lifespan | Frequent cable replacements | Invest in durable cables |
| Compatibility Issues | Device connectivity problems | Ensure cables meet device specifications |
The quality of cables used in an audio setup can significantly impact sound fidelity. Many beginners may opt for low-cost cables in an effort to save money, but this decision can lead to frustrating issues such as signal loss, interference, and unwanted noise. For example, using poorly shielded cables may result in electromagnetic interference from nearby electronic devices, introducing hum or buzz into recordings.
Such problems can be difficult to troubleshoot and may require extensive re-recording or editing. Investing in high-quality cables is essential for maintaining signal integrity throughout the recording chain. Professional-grade cables are designed with better shielding and connectors that minimize signal degradation and ensure reliable performance.
Additionally, it is important to regularly inspect cables for wear and tear, as frayed or damaged cables can compromise audio quality. By prioritizing cable quality and maintenance, one can avoid unnecessary headaches and ensure that recordings are as pristine as possible.
Neglecting to Monitor and Test Your Recording
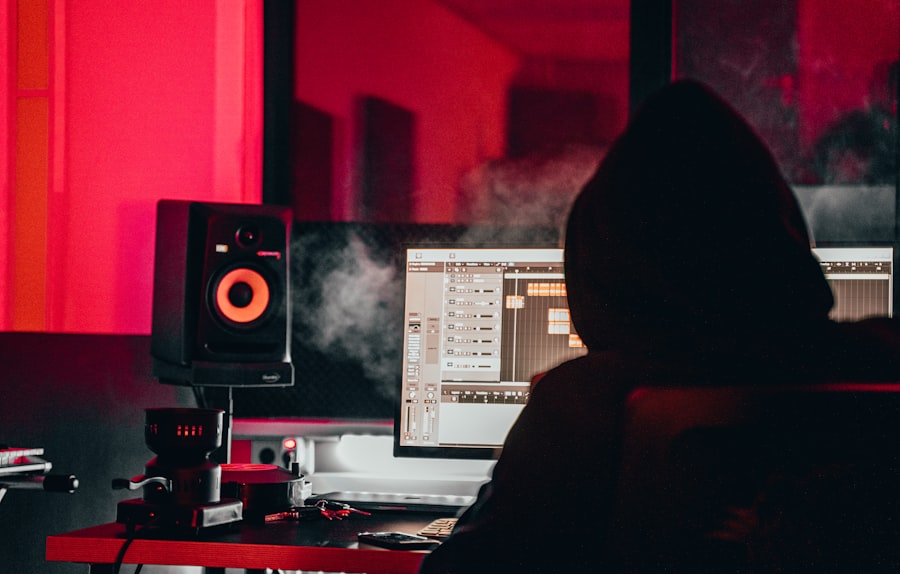
Monitoring during recording is an often-overlooked aspect of the process that can greatly influence the outcome of a project. Many individuals may record without listening back in real-time or fail to conduct test recordings before committing to a take. This oversight can lead to missed opportunities for capturing the best performance or identifying issues such as unwanted background noise or improper mic placement.
For instance, if a vocalist is too far from the microphone during recording, it may result in a weak signal that lacks presence. To mitigate these risks, it is crucial to establish a monitoring system that allows for real-time feedback during recording sessions. This could involve using headphones or studio monitors to listen closely to the audio being captured.
Additionally, conducting short test recordings before starting a session can help identify any potential problems with levels or sound quality. By actively monitoring and testing recordings, one can make necessary adjustments on-the-fly and ensure that each take meets the desired standards.
Failing to Back Up Your Files
The Consequences of Data Loss
Imagine spending an entire week tracking an album only to discover that your hard drive has crashed without any backup in place. This scenario is not only disheartening but could also jeopardize an entire project.
Implementing a Robust Backup Strategy
To safeguard against data loss, it is essential to implement a robust backup strategy. This could involve using external hard drives, cloud storage solutions, or both for redundancy. Regularly scheduled backups should be part of every recording workflow; for instance, after each session or significant milestone in a project.
Organizing Files for Efficient Backup
Additionally, organizing files into clearly labeled folders can streamline the backup process and make it easier to locate specific sessions when needed.
Not Editing and Cleaning Up Your Recordings
Once recordings are captured, many individuals may overlook the importance of editing and cleaning up audio tracks before moving on to mixing. Raw recordings often contain extraneous noise, unwanted artifacts, or mistakes that can detract from the overall quality of the final product. For example, background noise from air conditioning units or microphone handling sounds can be distracting if left unaddressed during mixing.
Editing involves not only removing unwanted sounds but also tightening up performances by cutting out unnecessary pauses or mistakes. This process can enhance clarity and focus within a track while ensuring that each element sits well within the mix. Additionally, applying basic processing techniques such as noise reduction or equalization during this stage can further improve audio quality.
By dedicating time to edit and clean up recordings thoroughly, one sets the stage for a more polished final mix.
Forgetting to Save and Label Your Projects
In the fast-paced world of audio production, it is easy to become engrossed in creativity and forget essential organizational practices like saving and labeling projects properly. Failing to do so can lead to confusion down the line when trying to locate specific sessions or versions of a project. For instance, if multiple iterations of a song are saved without clear distinctions in their filenames, it may become challenging to identify which version contains the best takes or edits.
To avoid these pitfalls, it is crucial to develop a consistent naming convention for projects and files right from the start. This could include details such as song titles, dates, and version numbers (e.g., “SongTitle_V1_2023-10-01”). Additionally, regularly saving progress during sessions—ideally with incremental saves—can prevent data loss due to software crashes or other unforeseen issues.
By establishing good habits around saving and labeling projects, one can maintain organization throughout the production process and ensure easy access to files when needed.
If you are interested in learning more about common mistakes in digital audio recording, you may want to check out the article “Hello World” on sersea.media. This article may provide additional insights and tips on how to avoid errors and improve the quality of your audio recordings.
FAQs
What are common mistakes in digital audio recording?
Some common mistakes in digital audio recording include improper microphone placement, recording at too low or too high levels, not using pop filters, and not monitoring the recording properly.
How does improper microphone placement affect digital audio recording?
Improper microphone placement can result in poor sound quality, uneven frequency response, and unwanted background noise in the recording.
What are the consequences of recording at too low or too high levels?
Recording at too low levels can result in a noisy signal, while recording at too high levels can cause distortion and clipping, both of which can significantly degrade the quality of the recording.
Why is using pop filters important in digital audio recording?
Pop filters help reduce plosive sounds (such as “p” and “b” sounds) and minimize the impact of breath on the microphone, resulting in cleaner and clearer recordings.
How does improper monitoring affect digital audio recording?
Improper monitoring can lead to inaccurate assessment of the recording, resulting in potential issues such as incorrect levels, unwanted noise, and poor overall sound quality.